The BEST Easy Pie Crust Recipe
A tender, flaky, and easy pie crust recipe that tastes and smells like homemade buttermilk biscuits! It’s the best pie crust I’ve ever had!
My cousin: Can you make me a pie?
Me: Of course, what kind do you want?
My cousin: Just the crust. A crust pie. I just want to eat the crust.
LOL, she was dead serious, and I completely understood because I can (and have) eaten this pie crust as is. Hello, pie crust bites. It’s that good!
If you’re used to picking up a premade pie crust from the grocery store, let me nudge you just a little towards trying your hand at making one from scratch.
Once you taste the difference, you’ll think twice about returning to store-bought versions!
I experienced this realization not too long ago when I was craving a peach pie. I thought I’d take a shortcut and use a frozen pie crust. I mean, it couldn’t be too bad, right? LIES!
The pie filling was great, but the flavor of that crust just ruined the experience. Bless it! It just didn’t hold a candle to this homemade pie crust. That pie lasted five days in my house before it was gone. That is soooo not normal for us. We finish pies in 24-48 hours around here!
If you’re gonna take time to make a delicious homemade pie filling, it deserves a homemade crust! Whether it’s for apple pie, pumpkin pie, or chicken pot pie, this flaky pie crust is it!
Thankfully, this pie crust recipe is also super easy to make!
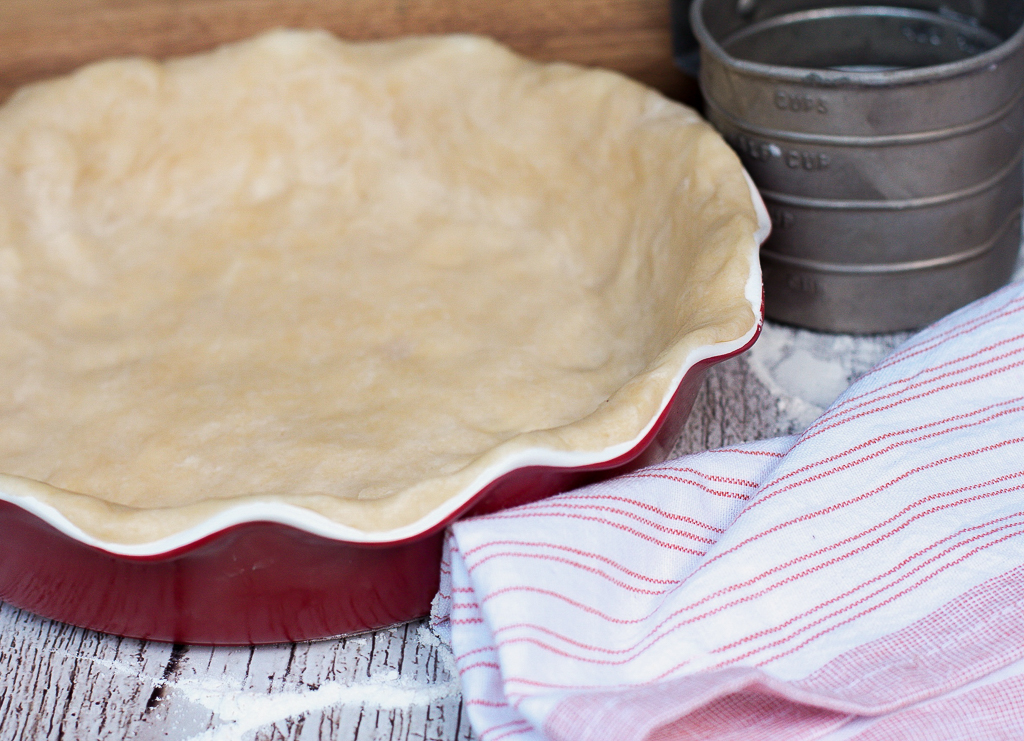
What makes this the BEST easy pie crust recipe?
If you have been following me for some time, you know this is the ONLY pie crust I use. I’ve posted a few others on this site, but I always come back to this one because it is just perfection, in my opinion.
- The taste: This is #1 for me. Magic happens when your pie crust AND the filling is incredible! This pie crust recipe tastes and smells like a buttermilk biscuit. It elevates ANY pie, whether sweet or savory.
- The ease: The pie crust dough is such a dream to work with and prepare. It rolls out with ease and is simple to bake.
- The appearance: This pie crust browns up beautifully for a perfectly golden pie and holds up well to liquid fillings.
- Makes extra- This recipe makes enough for two (9-inch) pie crusts with some dough to spare. It’s much easier to work with too much dough than to try to stretch it to make it fit! Plus, you’ll have extra if you want to add a pretty braid trim or crust decorations like leaves or hearts. You can also freeze the extra dough and make pie crust bites to go with soups or dips!
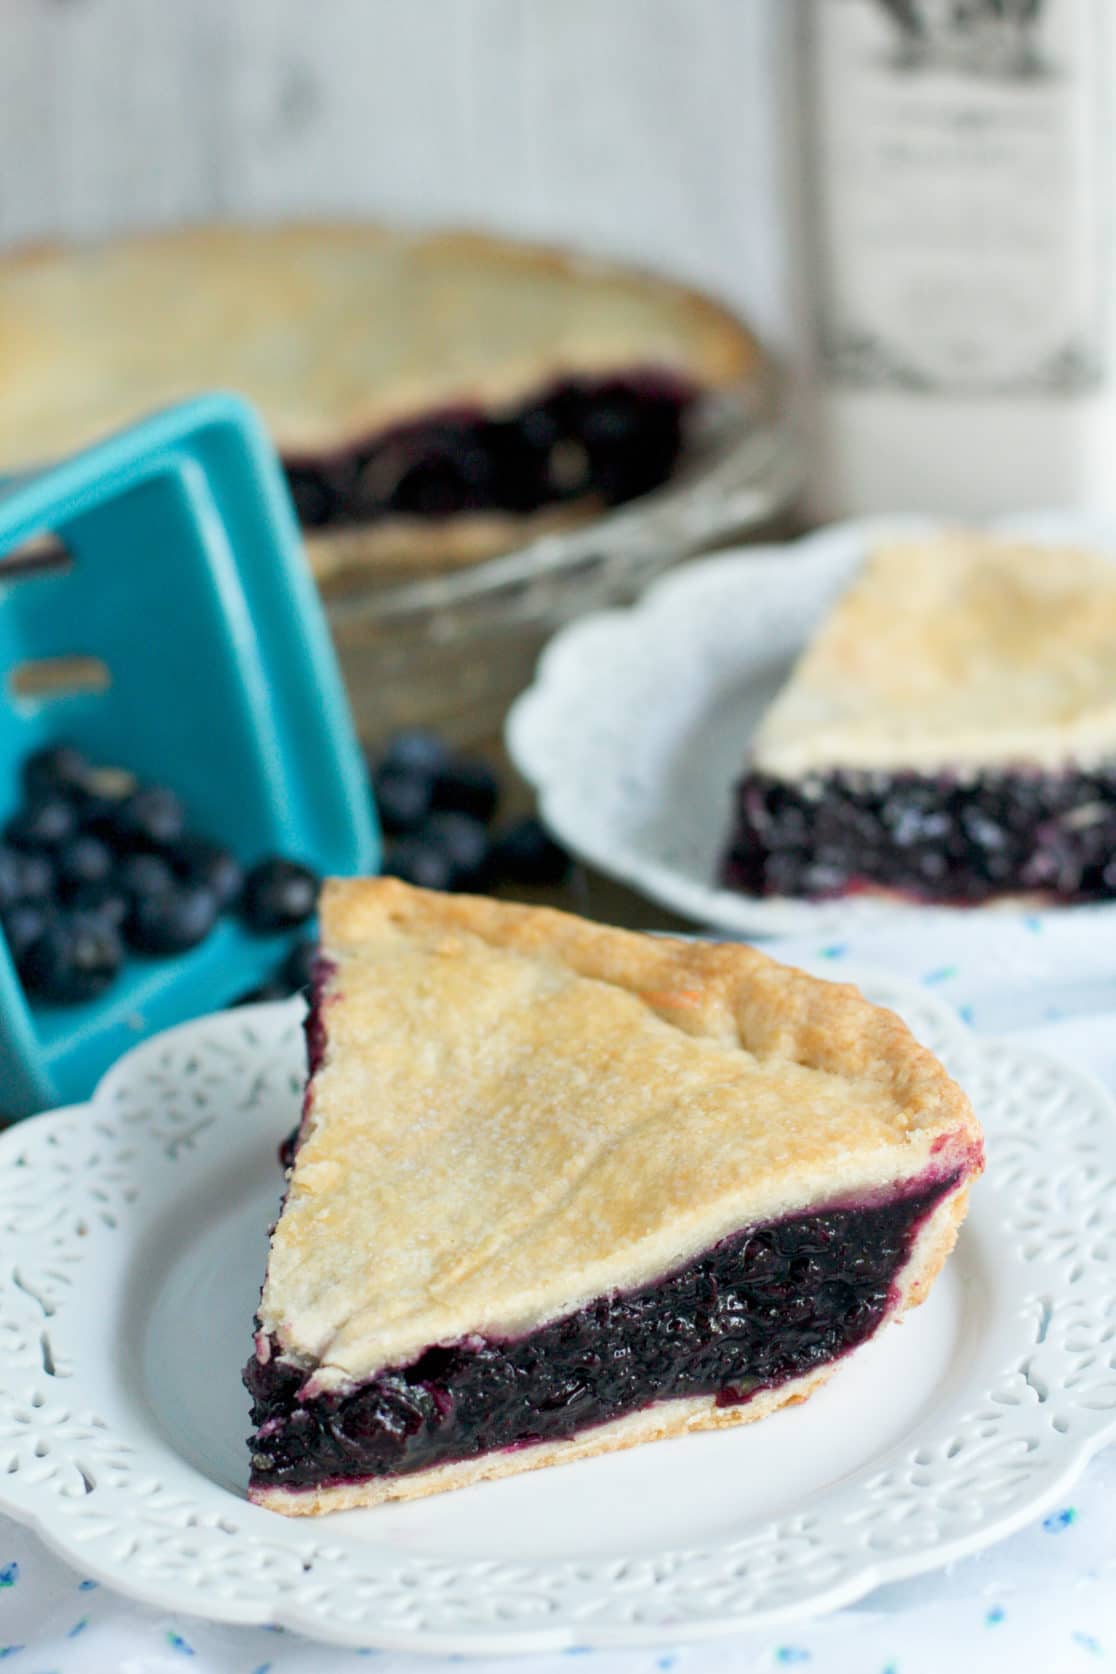
Is pie crust better with butter or Crisco (shortening)?
The answer is BOTH!! I’ve made this recipe with all butter and all shortening, and I’m team #butterandshortening!!
While I love the magic and flavor of butter, it just can’t seem to create a texture like shortening can! They work together as the perfect duo in this pie crust recipe.
Tricks to making a GOOD Pie Crust
- Use super cold ingredients- Yep, throw the ingredients into the fridge to get them cold before starting. This will ensure that your pie crust is perfectly flaky.
- Chill the dough- Letting the dough rest and chill before rolling it out and before baking will prevent a tough crust.
- Use a light touch- When kneading the dough, only do so long enough to combine the ingredients. Overworking the pie dough will over-activate the gluten, which could lead to a gummy, heavy crust (been there, done that!)
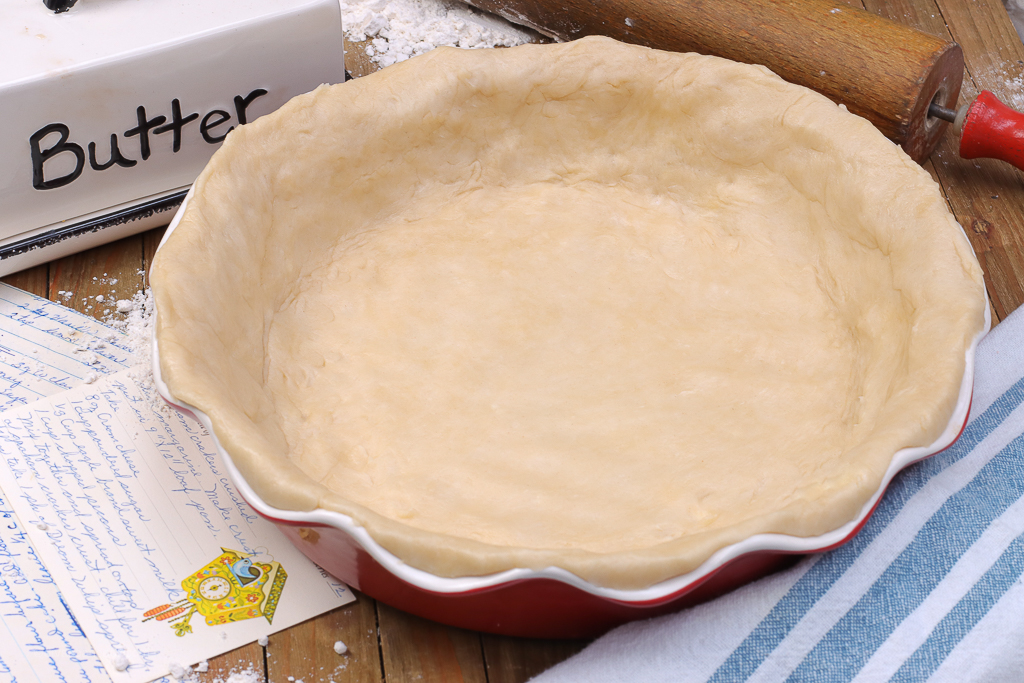
How To Make This Easy Pie Crust Recipe
INGREDIENTS
- All-purpose Flour– The foundation for the pie crust, which provides structure. I prefer all-purpose over bread or cake flour.
- Granulated sugar- helps the crust brown and adds subtle flavor (no worries, the crust won’t taste sweet)
- Salt– enhances the flavor of the crust.
- Unsalted butter– Cold butter adds to the flavor and texture of the pie crust.
- Butter-flavored shortening– Adds additional fat, which creates flavor and a softer yet flaky texture. (Be sure to use butter-flavored for the best taste)
- Ice water– hydrates and binds the ingredients while keeping them cold.
INSTRUCTIONS (full printable recipe at the bottom of post)
- In a large bowl, combine flour, sugar, and salt. Whisk until combined.
- Grate the frozen butter and shortening into the flour mixture (toss with a fork several times while grating so that it doesn’t all clump together)
- Cut in the butter and shorten using a pastry cutter until it resembles fine crumbs.
- Stir in cold water just until combined and a dough forms.
- Place dough on a floured surface and knead just enough until all the flour is incorporated.
- Divide the dough into two equal halves.
- Gently shape the dough into flattened disks.
- Wrap with plastic wrap and refrigerate for at least 30 minutes or until chilled.
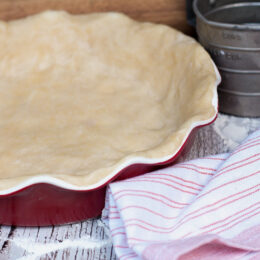
- When ready to use, roll one of the halves out evenly onto a lightly floured surface using a rolling pin (about 1/4-1/8 inch thick) or press it out with your hands. Roll it large enough to fit a 9-inch pie pan. (about 12 inches in diameter)
- Place into a pie plate and trim off any excess dough if needed.
- Chill in the refrigerator until ready to use according to your pie recipe.
- If storing it long-term, wrap it tightly in plastic wrap and place it in a freezer bag.
How to Blind-Bake (Par-Bake)
BLIND BAKE (Full or Partial Bake)
Blind baking is when you bake a pie crust before filling it. It’s usually done when a pie filling requires little or no cooking time.
- Prep Your Crust: First, place your rolled-out crust into your pie dish and shape it according to your recipe or preference. Make sure it’s nice and snug without any air pockets. (You may find it easier to shape the rim once it’s chilled a bit)
- Chill It: Place your crust in the fridge for a bit just to get it super cold. This ensures the pie crust will bake up flaky.
- Line It: Line the bottom and sides of the chilled pie crust with parchment paper. (Crumbling the parchment paper up first will make it easier to line.
- Weigh It Down: Fill the lined crust with pie weights, beans, or sugar to prevent it from puffing up or shrinking. Be sure to cover the bottom with pie weights completely. (If using sugar, the sugar will still be some good after baking, so don’t discard it)
- Bake It: Place your weighted pie shell into a preheated 375°F oven. Bake until the edges are very lightly golden and appear set( about 15 minutes.)
- Full or Partial Bake: Remove the pie from the oven and lift off the parchment paper. For a partially baked crust, return to the oven and bake for another 7-10 minutes or until golden. For a fully baked crust, bake for about 15 minutes. (Timing may vary, so keep an eye on it.) You can also prick the crust before placing it back into the oven, but I usually skip this step.
- Cool: Let crust cool before adding filling. Proceed with the desired pie recipe.
How to Freeze Pie Crust
I usually make my pie crust fresh, but I like having a few of these stashed in the freezer for backup. This pie crust recipe freezes like a charm! Here’s how!
- Flatten it: Flatten the dough into discs. This will make thawing and storing much more sufficient.
- Wrap It Up: Wrap it tightly in several layers of plastic wrap. You want to make sure no air gets in and dries out the dough or give it that weird freezer taste.
- Bag It: Next, place your wrapped dough into a Ziploc bag for extra protection. I also place it in a freezer container as well.
- Label It: Don’t forget to label your dough with the date. It will last about three months in the freezer (Truth be told, I’ve used a 6-month-old pie crust, and it tasted just fine!)
- Freeze It: Now, all that’s left to do is stick your dough in the freezer.
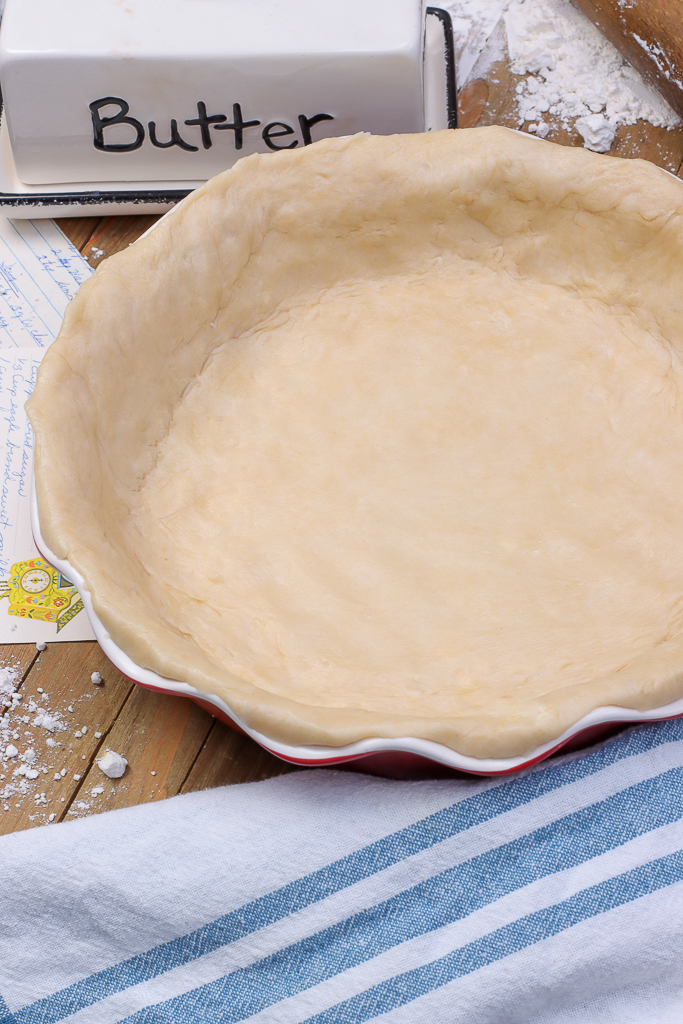
How to thaw homemade pie crust?
If the pie crust is frozen, place it in the fridge overnight to thaw it out. You may find that you need more time, especially if the pie crust is in a ball or thick disk shape.
Pie crust that is not frozen will warm up quickly and become pliable just from kneading it a few times.
Common Questions:
Do I have to use pie weights? Pie weights are used for blind-baking a pie so that it doesn’t puff up while baking. If your recipe doesn’t require a par-baked crust, then you do not need to use pie weights.
Can I brush my crust with egg? This isn’t necessary. However, it can be beneficial for certain pies. It can create a barrier between the filling and crust to prevent it from becoming soggy, enhance browning, and add a bit of shine to the pie crust if desired.
How many pie crusts does this recipe make? This recipe makes two pie crusts. You’ll have leftover dough, which is perfect for making a thicker trim if desired. Or you can simply cut away the extra dough.
Why do I have to let the pie dough chill before using it? Letting the pie crust dough chill in the fridge is crucial to this recipe. It allows the gluten in the dough to relax. This makes the pie crust easier to work with and helps prevent a heavy crust.
Can this pie crust be used for savory pies? Absolutely!
Ready to put this pie crust to work? Check out the recipe below!
Get the Recipe: The BEST Easy Pie Crust Recipe
Ingredients
- 3¾ cups all-purpose flour, (spoon into measuring cup and level off)
- 3 tablespoons granulated sugar
- 1½ teaspoon salt
- ¾ cup unsalted butter, frozen
- ¾ cup butter-flavored shortening, frozen
- ¾ cup ice water
Instructions
- In a large bowl, combine flour, sugar, and salt. Whisk until combined.3¾ cups all-purpose flour, 3 tablespoons granulated sugar, 1½ teaspoon salt
- Grate the frozen butter and shortening into the flour mixture (toss with a fork several times while grating so that it doesn't all clump together)¾ cup unsalted butter, frozen, ¾ cup butter-flavored shortening, frozen
- Cut in the butter and shortening using a pastry cutter until the mixtures resembles small crumbs.
- Stir in cold water just until combined and a dough begins to form.¾ cup ice water
- Place dough on a floured surface (it will be crumbly) and gently knead just enough until all the flour is incorporated and you have soft, uniform dough.
- Divide the dough into two equal halves.
- Gently shape the dough into flattened disks.
- Wrap with plastic wrap and refrigerate for at least 30 minutes.
- When ready to use, roll one of the halves out evenly onto a lightly floured surface using a rolling pin (about 1/8 inch thick). Roll it large enough to fit a 9-inch pie pan. (about 12 inches in diameter)
- Place into a pie plate and trim off any excess dough if needed.
- Chill in the refrigerator until it's ready for filling.
- If storing long term, wrap tightly in plastic wrap and place in a freezer bag.
Video
Notes
- Use super cold ingredients- Yep, throw all of the ingredients into the fridge to get them cold before starting. This will ensure that your pie crust is perfectly flaky.
- Chill the dough- Letting the dough rest and chill before rolling out and before baking will prevent a tough crust.
- Use a light touch- When kneading the dough, only do so long enough to combine the ingredients. Overworking the pie dough will over-activate the gluten, which could lead to a gummy, heavy crust (been there, done that!)
How to Blind-Bake (Full & Partial)
- Prep Your Crust: First, place your rolled-out crust into your pie dish and shape it according to your recipe or preference. Make sure it’s nice and snug without any air pockets.
- Chill It: Place your crust in the fridge for a bit just to get it super cold. This ensures the pie crust will bake up flaky.
- Line It: Line the bottom of the chilled pie crust with parchment paper. (Crumbling that parchment paper up first will make it easier to line the crust.
- Weigh It Down: Fill the lined crust with pie weights, beans, or sugar to prevent it from puffing up and shrinking. Be sure to cover the bottom with pie weights completely. (If using sugar, the sugar will still be some good after baking, so don’t discard it)
- Bake It: Place your weighted pie shell into a preheated 375°F oven. Bake until the edges are very lightly golden and appear set for about 15 minutes (may need longer).
- Full or Partial Bake: Remove the pie from the oven and lift off the parchment paper. For a partially baked crust, return to the oven and bake for another 7-10 minutes or until golden. For a fully baked crust, bake for about 15 minutes. (Timing may vary, so keep an eye on it.) You can also prick the crust before placing it back into the oven, but I usually skip this step.
- Cool: Let crust cool before adding filling. Proceed with the desired pie recipe.



Haven’t made it, but will use it for Thanksgiving Day. Thank you for sharing.