My DIY Layered Vegetable Garden…For Plant Killers
“DIY layered “lasagne” vegetable garden for people who suck at gardening. Here’s my approach that always produces amazing vegetables”
Watch me make this layered, raised vegetable garden from start to finish!
Hi, my name is Monique and I kill baby plants.
It’s true. I have a true ungreen thumb. No matter how many gardening books I read or how careful I try to follow the directions I still somehow manage to kill even the plant that says, “Hardy” or “hard to kill”.
It really sucks because I absolutely LOVE plants and I LOVE playing in the dirt!! I’m almost certain that if there is a previous life then I was def. a gardener of some type. I just feel the connection…or maybe it’s the challenge of not being able to get it right.

Either way, my house is filled with artificial plants simply because I love the look of them. It’s been a lifelong dream of mine to start a community food garden ( I will one day..watch me!) but first I needed to learn how to at least make SOMETHING grow for Pete’s sake! (Off subject: Who is Pete?)
After much work and many, many fails, I finally figure it out…well kinda!
A few years ago I purchased a strawberry plant. I planted it inside of a wooden crate and said “let’s see how long you last big fella. I’ll give you 2 weeks”. And guess what? It’s still producing luscious strawberries for me! Ha! I was so pumped that I purchased more plants and put them into the ground. They were dead in a week. Hmmmm..bad batch I thought.
Soooo…I got some more from a really nice nursery. Put them into the ground. Dead and gone within a month. WTH!!! Then I decided to get some more and plant them in a crate using the same “layering method” that I’d done with the first strawberries.
Eureka!! They thrived!! So it turns out that I don’t totally suck at vegetable gardening, I just suck at planting things in the ground, having plants in my house, or anything else that is relying on me for water, sunlight, etc.
I discovered that the only way I can have a beautiful successful crop is to use the layering approach and a raised garden! Works every time!!
Now I know the professional gardeners will probably say ” oh you’re just planting too deep or not in the right place or yada yada yada”. Well….I had a professional gardener, did you hear me, PROFESSIONAL gardener walk me through the process once and even those plants died. See. Believe me now. Ok maybe that was bad luck
Ok maybe that was bad luck. But all I know is that everything I plant in the ground dies and everything I plant using the layered garden approach not only survives but produces an insane, healthy crop.
It’s gonna take a lot of convincing for me to change this method and risk it. I’ve been burned too many times!
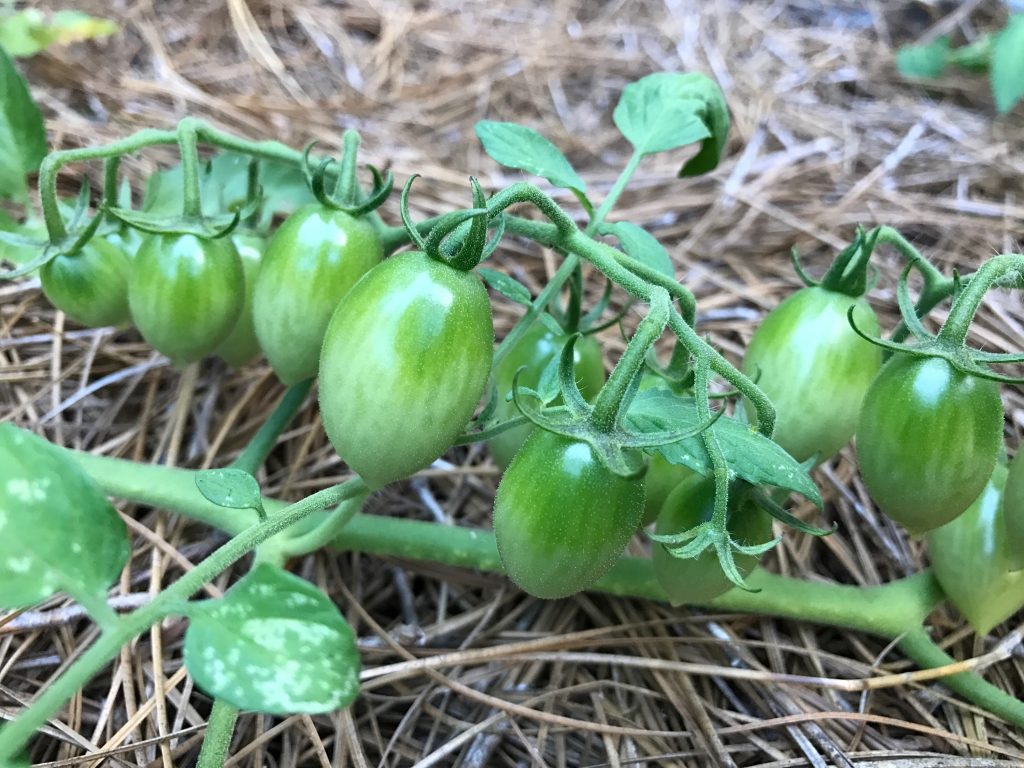
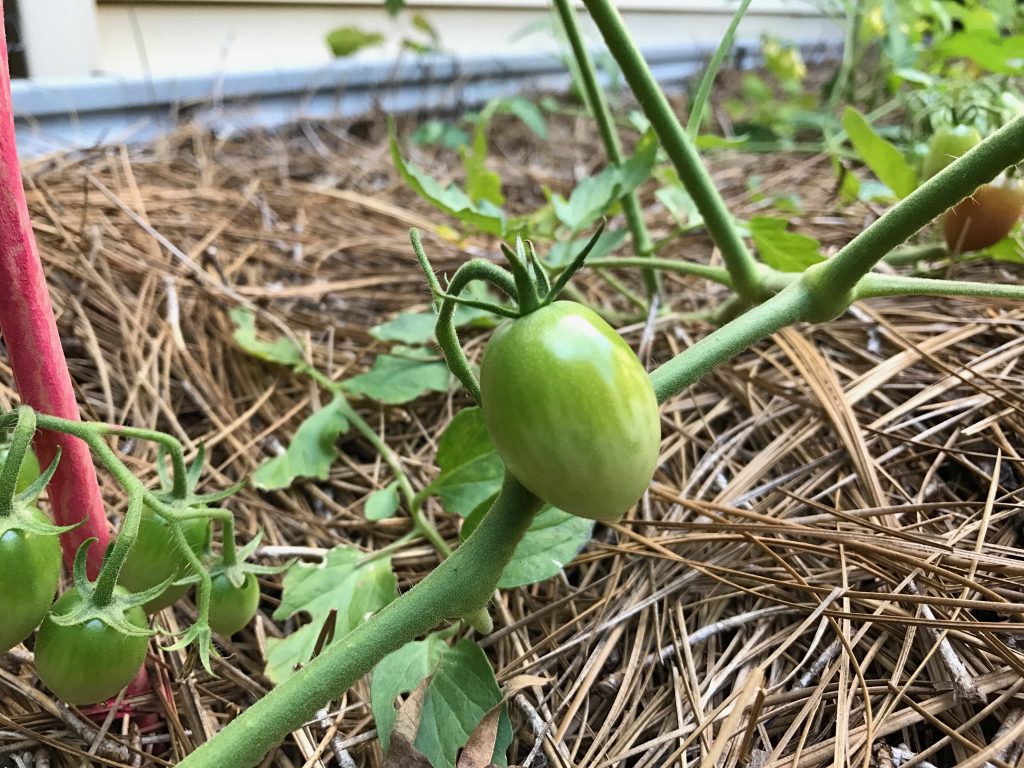
So if you suck at gardening then try this method! I mean what do you have to lose since you already suck? Don’t go out and buy a ton of vegetable plants. Just start small with one variety that you love to eat or purchase often. Maybe some fresh spinach for those daily smoothies or some tomatoes for canning lots of savory sauces and salsas.
What the heck is a “lasagna garden”?
Oh darn, look at me jumping way ahead of myself! Let me tell you what a layered or “lasagna garden” is, just in case you’ve never heard of it.
A lasagna garden is not a garden full of lasagna ingredients, although that would be kinda cool. It’s a gardening technique that uses layers of gardening materials (soil, moss, hay, composts, etc) to produce crazy rich soil that is fit for the Gods!! Vegetables thrive in these conditions which is probably why it works so good for plant killers like myself. Having that extra ” nutrient insurance” keeps the plants in prime condition.
Why I LOVE layered gardens
- No digging. I hate digging and prepping the ground for a garden. With a layered garden, you just put your container or box on the ground wherever you want it and get to layering.
- Nutrient-rich soil=Mercy & Grace. I’m actually not sure if this is why I succeed with layered gardens but it’s the only thing I can think of. Layered gardens are loaded with nutrients that plants love! I believe it offers a little bit of “forgiveness” for my lack of gardening skills.
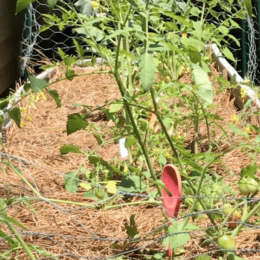
- It looks pretty. I just love the look of a raised layered garden. The pine needles on top makes it look like part of the yard landscape. Next year I plan on edging my entire back yard with raised beds.
The “Lasagna” Layers:
(My raised garden is about 18 inches deep)
There are a ton of different things you can use for the layers in your garden. It can actually get pretty overwhelming with the many options. This is why I choose to keep it really simple. You essentially want cardboard or newspapers first, something to hold moisture like mulch, moss, pellets, etc, rich soil, and another layer of protection like straw, pine needles, etc. You can use compost, dried leaves, grass clippings, moss, manure and the list goes on. Everything will break down and provide nutrients for your vegetables.
Here are the layers that I use:
(This is just what I use and what has worked for me. Feel free to use whatever layers you’d like Just be sure to use brown and green (or once upon a time green) layers.)
1st Layer: Cardboard or Newspaper: The first layer you want to put down is cardboard or newspaper. You’ll want to saturate this once you put it down. This layer kills the grass, provides a nice moist foundation for the garden and bonus, it attracts earthworms!
2nd Layer: Mulch: Mulch holds in moisture and keeps the soil perfectly damp.
3rd Layer: Rich Soil. I like to use a planting compost soil loaded nutrients. It’s more expensive but it sure makes it easier especially since I don’t use much homemade compost in my garden once it’s done, other than a few egg shells and banana peels every now and then. ( I also put down a thin layer of compost dirt that had leaves, roots, grass clippings, and eggs shells in it)
Final Layer: Pine Needles. This keeps the soil moist and looks aesthetically pleasing to me.
Get the Recipe: Raised Vegetable Gardens...For People Who Suck At Gardening
Ingredients
- Cardboard
- Mulch
- Rich Planting Soil
- Pine Needles
Instructions
- Lay down a layer of cardboard
- Using a water hose, soak the cardboard.
- Lay down a layer of mulch
- Lay down a layer of soil.
- Repeat with a layer of mulch and soil if desired.
- Finish with a layer of pine needles.
- Dig a small hole into the soil.
- Place the plant into the soil and cover.
- Water. You have just planted in your layered garden!
Video
Now being that I still suck at gardening it’s probably smart to do some more research on your own about lasagna gardening before you start. Google & Pinterest is a great place for discovering tips, pattern ideas, layout ideas and things like that.
Happy Gardening!